How to Install Semi-Trailer Axles Safely and Efficiently
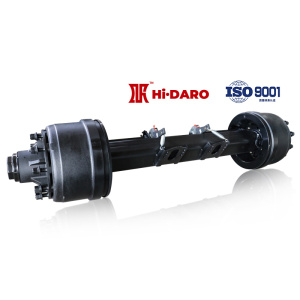
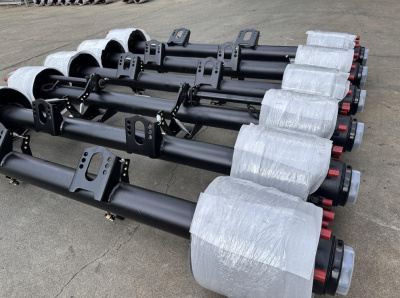
Installing semi-trailer axles correctly is crucial for ensuring vehicle safety, load stability, and compliance with transportation regulations. Whether replacing worn axles or upgrading your trailer, this guide provides a professional, easy-to-follow tutorial for axle installation.
Tools and Materials Required
Tools: Hydraulic jack, torque wrench, impact wrench, wheel chocks, pry bar, measuring tape, calipers.
Materials: New axle assembly (including hubs, bearings, and brake components), high-temperature grease, bolts/nuts (grade 8 or higher), anti-seize lubricant.
Safety Gear: Gloves, safety glasses, steel-toe boots.
Safety Precautions
Park the trailer on a flat, stable surface and engage the parking brake.
Use wheel chocks to prevent unintended movement.
Never work under an unsupported trailer—always use jack stands.
Follow the manufacturer’s torque specifications strictly.
Step 1: Remove the Old Axle
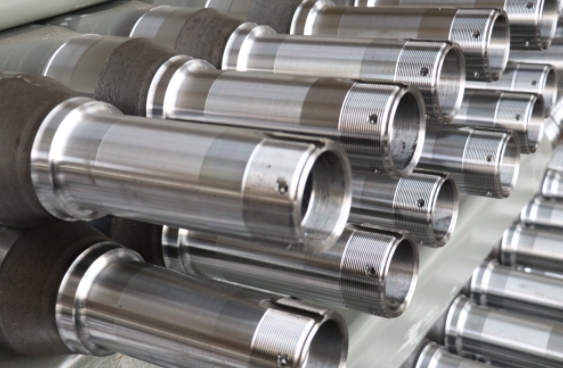
Lift the Trailer: Use a hydraulic jack to raise the trailer until the axle’s wheels are off the ground. Place jack stands under the frame for stability.
Disconnect Brake Lines and Suspension:
Unbolt the brake chambers and disconnect air lines (for air-brake systems).
Remove U-bolts or suspension links attaching the axle to the trailer frame.
Detach the Axle: Carefully lower the old axle and slide it out from under the trailer.
Step 2: Prepare the New Axle
Inspect Components: Ensure the new axle, hubs, and brake assemblies are free of damage.
Pre-Grease Bearings: Apply high-temperature grease to wheel bearings and seals.
Align Mounting Points: Verify the axle’s spring seat or suspension brackets match the trailer’s configuration.
Step 3: Install the New Axle
Position the Axle: Slide the new axle under the trailer, aligning it with the suspension mounting points.
For tandem/triple axles, maintain equal spacing between axles (measure from the centerline).
Attach Suspension Components:
Secure U-bolts or suspension arms to the trailer frame. Tighten nuts gradually in a crisscross pattern to ensure even pressure.
Torque U-bolts to the manufacturer’s specification (typically 250–450 ft-lbs).
Reconnect Brake Systems:
Install brake chambers and reconnect air lines. Use thread locker on fittings to prevent leaks.
Adjust brake shoe clearance (if applicable).
Step 4: Install Wheels and Hubs
Mount Hubs: Slide the pre-greased hubs onto the axle spindles.
Tighten Spindle Nuts:
Hand-tighten the inner nut, then back it off 1/4 turn.
Secure with the outer nut and torque to 50–75 ft-lbs (refer to axle manual).
Attach Wheels: Mount the wheels and torque lug nuts to 450–500 ft-lbs in a star pattern.
Step 5: Post-Installation Checks
Test Suspension Alignment: Ensure the axle is perpendicular to the trailer frame using a measuring tape.
Brake System Test:
Pressurize the air system and check for leaks.
Verify brake engagement/release functionality.
Tire Pressure: Inflate tires to the recommended PSI (marked on the tire sidewall).
Common Installation Mistakes to Avoid
Over-Torquing Bolts: Excess force can strip threads or deform components.
Ignoring Spacing in Tandem Axles: Uneven spacing causes uneven tire wear.
Skipping Grease: Dry bearings lead to premature failure.
Maintenance Tips for New Axles
Regular Inspections: Check U-bolt tightness and brake alignment every 3,000 miles.
Lubrication Schedule: Re-grease bearings every 25,000 miles or per OEM guidelines.
Monitor Tire Wear: Uneven tread indicates alignment or suspension issues.
When to Seek Professional Help
If the trailer frame shows signs of corrosion or damage.
For complex systems like air suspension or ABS-integrated axles.
Conclusion
Proper axle installation ensures your semi-trailer operates safely and efficiently under heavy loads. By following these steps and adhering to torque specifications, fleet managers and owners can minimize downtime and avoid costly repairs. For international buyers, always source axles certified to meet regional standards (e.g., DOT, DARO,TÜV, or CE).